build.gradle 설정
depandency에 작성
dependencies {
    implementation 'org.springframework.boot:spring-boot-starter'
    implementation 'org.springframework.boot:spring-boot-starter-web'
    implementation 'org.springframework.boot:spring-boot-starter-data-jpa'
    testImplementation 'org.springframework.boot:spring-boot-starter-test'

    developmentOnly 'org.springframework.boot:spring-boot-devtools'

    compileOnly 'org.projectlombok:lombok:1.18.16'
    annotationProcessor 'org.projectlombok:lombok:1.18.16'

    testCompileOnly 'org.projectlombok:lombok:1.18.16'
    testAnnotationProcessor 'org.projectlombok:lombok:1.18.16'

    compile  'com.h2database:h2'
}
application.yml 설정
spring:
  h2:
    console:
      enabled: true
    port: 9092
  profiles:
    active: local
  datasource:
    hikari:
      jdbc-url: jdbc:h2:./data/testdb
      driver-class-name: org.h2.Driver
      username: sa
      password:
  jpa:
    hibernate:
      ddl-auto: update
    properties:
      hibernate:
        format_sql: true
h2config 클래스 작성
@Log
@Configuration
@Profile("local")
public class H2ServerConfiguration {
@Value("${spring.h2.port}")
String port;
@Bean
@ConfigurationProperties("spring.datasource.hikari")
public DataSource dataSource() throws SQLException {
log.info("port: "+port);
Server.createTcpServer("-tcp", "-tcpAllowOthers", "-tcpPort", port).start();
return new com.zaxxer.hikari.HikariDataSource();
}
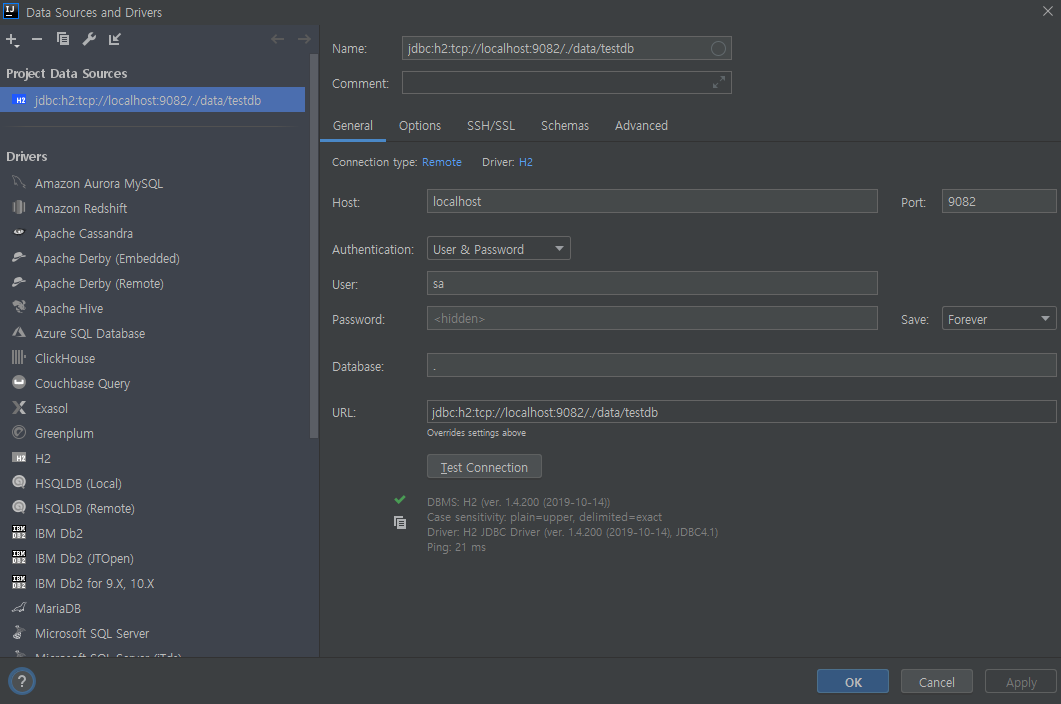
}h2 DB 연동 확인하면 설정이 완료된다.
'웹개발 > 스프링부트' 카테고리의 다른 글
| 스프링부트 서블릿 필터 Exception 핸들링 (2) | 2021.03.15 |
|---|---|
| Springboot Exception Handling(스프링부트 exception 핸들링) (0) | 2021.03.10 |
| Spring boot에 OAuth2.0 설정하기 (0) | 2021.03.02 |
| 스프링부트 api응답을 json으로 하기 (0) | 2021.02.18 |
| 스프링부트 CORS 적용하기 (0) | 2021.02.17 |


