package com.samlasoftware.api.hello;

import org.springframework.web.bind.annotation.RequestMapping;
import org.springframework.web.bind.annotation.RestController;

@RestController
public class HelloController {

    @RequestMapping("/")
    public String helo(){
        return "Hello World";
    }
}
실행하고 http://localhost:8080접속
Hello World를 확인할수 있다.
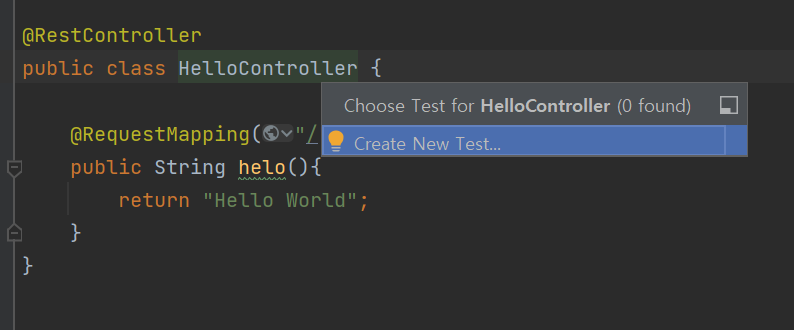
테스트도 같이 작성해보자
HelloController에 커서를 옮기고 Ctrl + Shift + t 를 누르면 테스트 코드를 만들수 있는 팝업이 뜬다
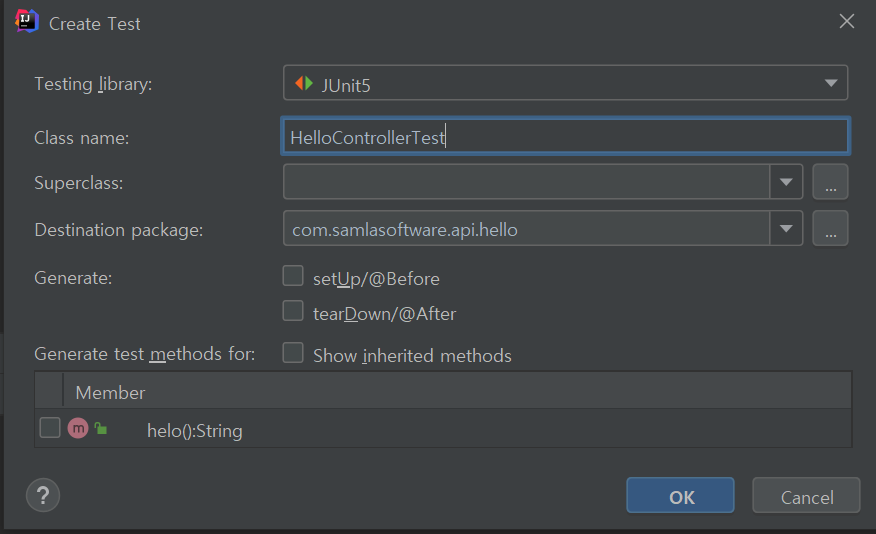
OK를 클릭하면 테스트클래스가 생성된다.
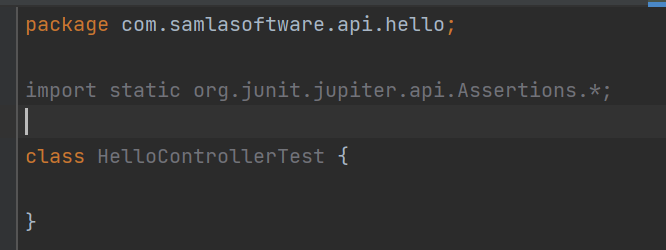
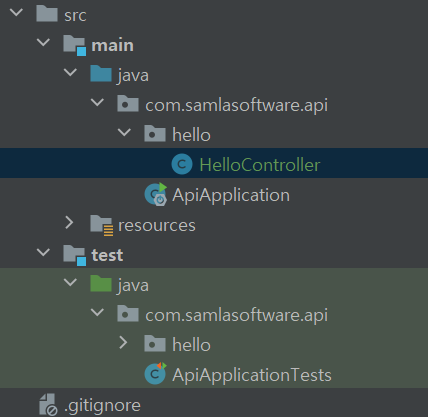
test 밑에 클래스가 생성된걸 볼수 있다.
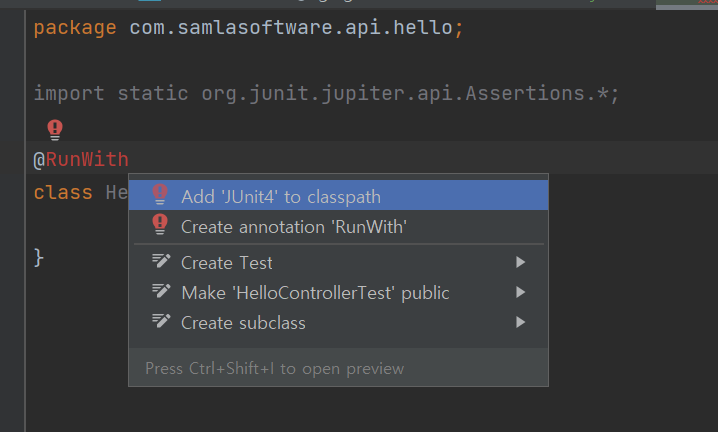
Junit을 추가하고
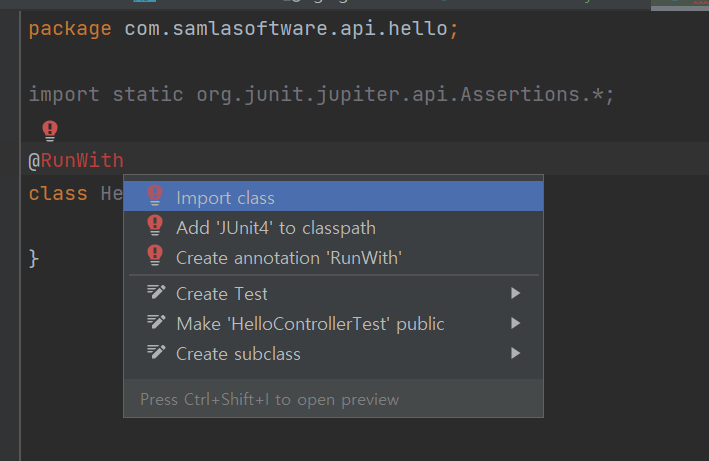
Import class를 하면 경고는 없어진다.
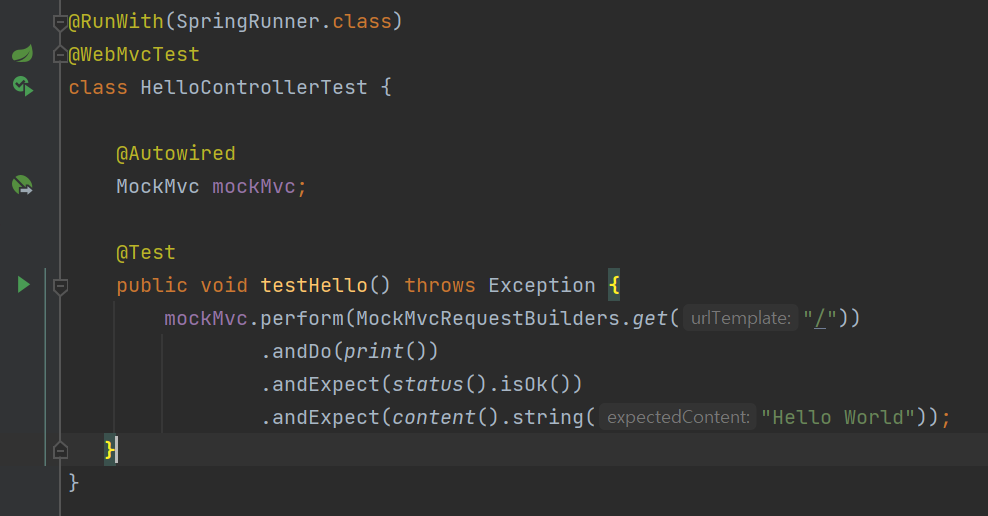
테스트 코드 작성
import org.junit.jupiter.api.Test;
import org.junit.runner.RunWith;
import org.springframework.beans.factory.annotation.Autowired;
import org.springframework.boot.test.autoconfigure.web.servlet.WebMvcTest;
import org.springframework.test.context.junit4.SpringRunner;
import org.springframework.test.web.servlet.MockMvc;
import org.springframework.test.web.servlet.request.MockMvcRequestBuilders;

import static org.springframework.test.web.servlet.result.MockMvcResultHandlers.print;
import static org.springframework.test.web.servlet.result.MockMvcResultMatchers.content;
import static org.springframework.test.web.servlet.result.MockMvcResultMatchers.status;

@RunWith(SpringRunner.class)
@WebMvcTest
class HelloControllerTest {

    @Autowired
    MockMvc mockMvc;

    @Test
    public void testHello() throws Exception {
        mockMvc.perform(MockMvcRequestBuilders.get("/"))
                .andDo(print())
                .andExpect(status().isOk())
                .andExpect(content().string("Hello World"));
   }
}
에디터에서 @Test옆에 실행아이콘을 클릭
Run 을 클릭
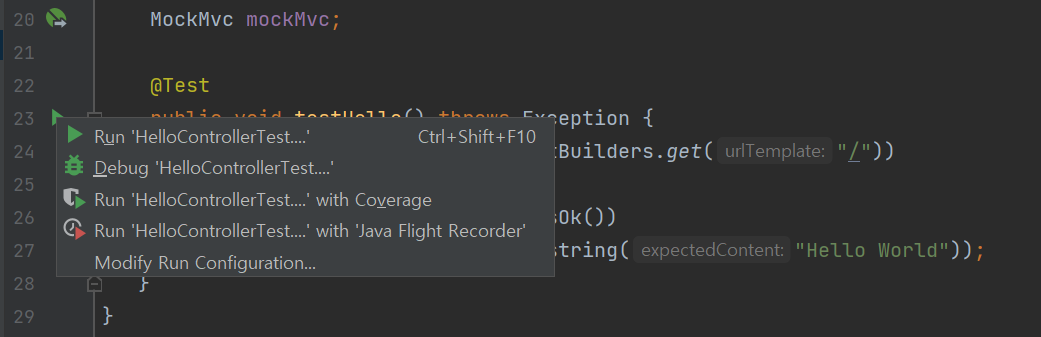
테스트가 통과됐다고 나온다.

끝
'게시판만들기' 카테고리의 다른 글
| React 모듈 추가하고 hello world 샘플 작성 (0) | 2021.09.04 |
|---|---|
| 게시판 만들기 위한 새 branch 만들기 (0) | 2021.08.31 |
| 게시판 만들기 (0) | 2021.08.30 |


